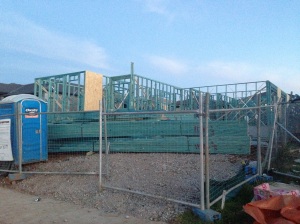
We were very excited to see our frame started today and fingers crossed it’s completed this week. Hopefully the build keeps moving quickly!
Excavation
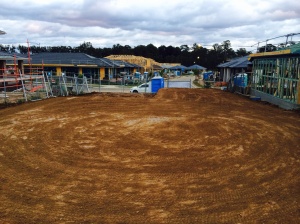
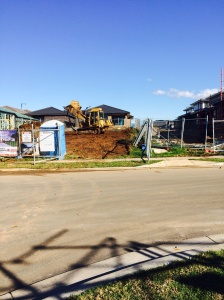
The 1st of July was the day that we finally saw some action on our block – by this time we thought we had been in the construction period for 28 working days but after this day we found out that Masterton had already claimed 4 working days due to wet weather.
We knew that our site would be excavated on this date as we were at our site the previous day and our site supervisor was looking at a couple of other jobs surrounding our block. He came and introduced himself and told us that our site would start being excavated the following day.
We were very excited to hear this news, so we visited our site on the 1st and excavation started around midday. We may have been a bit naive about the time it would take to excavate our site. We thought that it would only take a few hours, however, it not only took the rest of the day but the following day too!
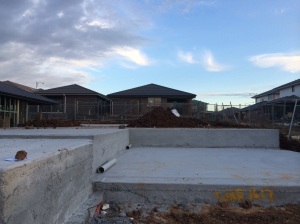
Slab work has begun!
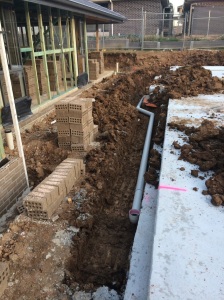
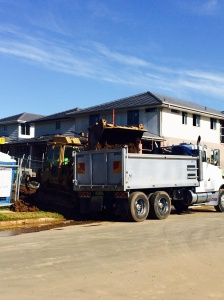
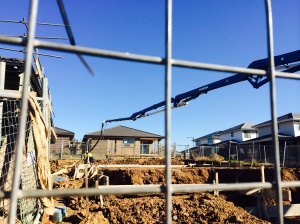
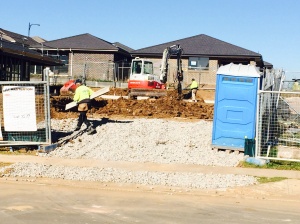
After a week of nothing happening on our site, I rang our site supervisor on Wednesday 8th July to ask when we would be seeing further progress. He told me that most likely nothing would happen until the following Monday. To our surprise we drove past our site the following day (Thurs 9th July) and our site was being piered. The next day the plumbers were working on our site installing the pipes for the kitchen, laundry, bathroom and ensuite. We also had a delivery of waffle pods and steel for our slab.
Colour selection appointment
We had lots of fun selecting our internal choices for the house. We had a good idea of what we wanted before the appointment and found that a lot of options were not mentioned unless we asked. On the colour selection day we also met with Sentinel Alarms and the air conditioning company. Before the appointment we thought we would do a lot more upgrades but stayed well below budget:) We were advised to do the glass splash back when we get keys as its a lot cheaper.
Here are most of the selections we made:
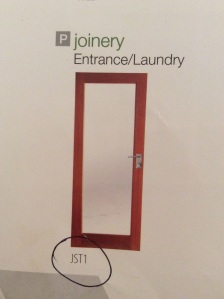
– Laundry door JST1- $85
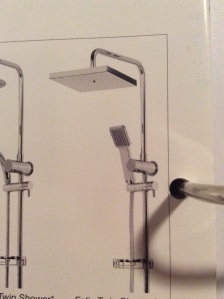
– 3x Abey Twin Angled Rail Shower (one cost an additional $357 for plumbing) – $409 each
– 2x Banksia wall faced toilet suite- $315 each
– 6mm thick contour perimeter framed shower screen to main bathroom- $790
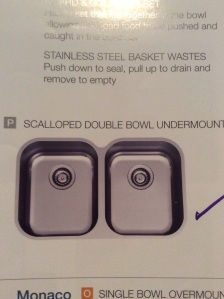
– Clark undermount sink kitchen- $549
– 3x Aluminium framed sliding wardrobe doors- $570 each
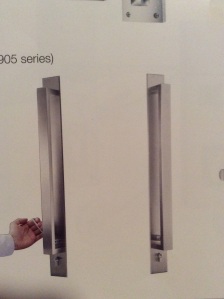
– Gainsborough Trilock Omni Pull handle to front door- $253
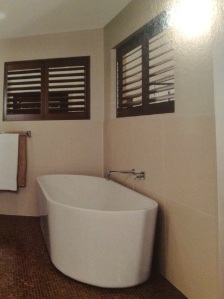
– Caroma Aura freestanding bath- $1458
-LIN 1 doors to pantry- $712
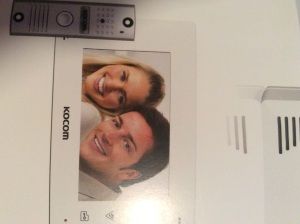
– Video intercom with 3 cameras $2100
– supply and install of conduit with draw wire for plasma or LCD TV- $100
– Reed switch- $60
– Upgrade to Carrier 17w inverter air conditioning (the ‘yes package, air conditioner won’t cool our whole house at once so we upgraded) – $3190
External colour selection
We finalised our external colours at our colour selection appointment in January and were able to stay within the standard options. We had previously added render for the pillars and a moroka finish to the bedrooms, entry and garage on the facade at the original tender stage.
The colours we chose are:
– Brick PGH Pearl Grey
– Roof tiles horizon- Babylon
– Windows – Dune satin
– Gutters- Basalt
– Fasia, garage door, down pipes and rainwater tank – Dune
– Driveway- Gunmetal
– Moroka and Render- Chapel Stone (Grey tone).
Flooring appointment
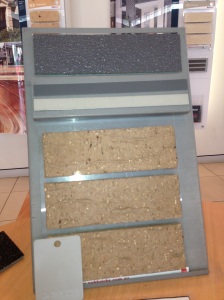
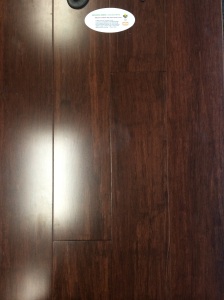
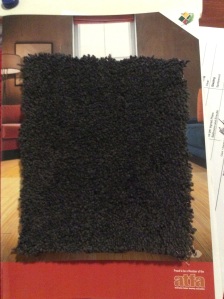
Our flooring appointment was booked in at Accent carpets at Bella Vista by Masterton. We upgraded our ‘Yes Package tiles’ to bamboo in our original tender. This cost us $1990 to upgrade and it was an additional $982 to provide bamboo to the bedroom hallway as this was above the allowance. At the appointment we decided on the colour ‘forest reds smooth’, which costs an additional $460. The only standard colours available were ‘Natural or Coffee’. We also decided to upgrade the carpet to a more plush feel and thicker underlay. This was at a cost of $2900 for the upgraded carpet and underlay to the bedrooms and home theatre.
Here are our carpet and bamboo selections:
Electrical appointment
We had our electrical appointment with Your Home Consulting in January 2015. We ended up spending much more than we anticipated but decided it suited our situation better to have Masterton install the down lights then post handover.
The upgrades we selected are as follows:
– 31 extra light points for the downlights
– 54 supply and install IP44 LED downlights (Daylight- White)
– Motion sensor for the front entry
– Wiring for a fan under the alfresco to be installed post handover (We wanted a specific fan)
– Ducted 4 light Exhaust fans x2
– 2 way light switch for the hall way
– 2 extra single powerpoints
– 2 extra double powerpoints ( We found the mansion packages included powerpoints quite sufficient)
– Weatherproof double PowerPoint to alfresco area
– One extra light circuit and extra safety switch for the additional light points
– One extra Power circuit and extra safety switch for the addition powerpoints
– S & I Twin para flood with sensor in the backyard
– Powerpoint and wall switch covers to matt silver x 32
– We upgraded the powerpoint on the kitchen splash back to a white glass cover.
If anyone would like to know the cost of upgrades just let me know. I know it would have been helpful before we went to our appointments to have had a better idea of the potential costs.
Tile selection
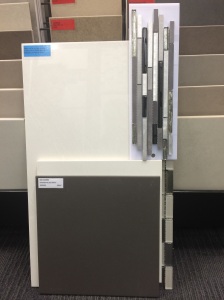
We had our first appointment at Don’s Tiles in Bella Vista in November 2014. We chose to upgrade our bathroom tiles in both bathrooms and the laundry from the standard red sticker range to the blue range. The cost was about $10 extra per m2 from memory. We also increased the mosaic strip to 100mm rather than 50mm, selected smart waste to all wet areas and tiled to the roof in both the main bathroom and ensuite. The cost of these upgrades was just under $5000.
Building our Masterton Concerto
We put a deposit on a house and land package in Jordan Springs building with Masteron in August 2014. After looking at the Warwick farm display village we decided to go for the Concerto with the contemporary facade. We have now been released into construction and are hoping for some progress very soon. I’ll put up some of our colour and electrical selections for anyone that may like to get an idea of upgrade costs.
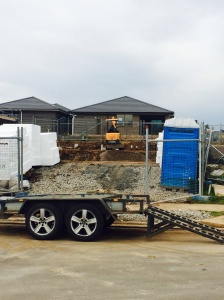
Here’s a picture of our block ( it was taken a while ago):
